How to Insulate a Greenhouse: Step-by-Step
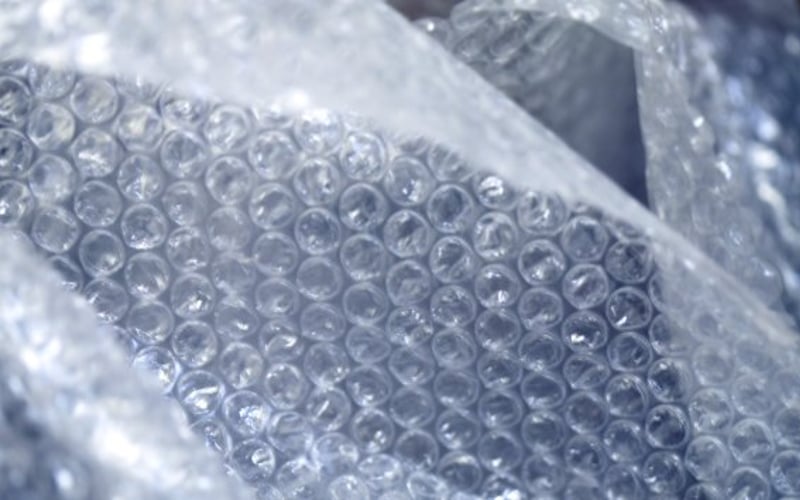
Horticultural bubble wrap is the best way to insulate a greenhouse. It cuts heat loss by up to 50% and costs under £30 for a typical 6x8ft structure. Fitting takes 1-2 hours using aluminium glazing bar clips. Large 20mm bubbles allow more light through than small-bubble alternatives. They also trap more insulating air. Combined with a fan heater, bubble wrap keeps a greenhouse frost-free through the coldest UK winters.
Key Takeaways
- Best material: Horticultural bubble wrap with 20mm bubbles. UV-stabilised and lasts 3+ years.
- Cost: Under £30 for a 6x8ft greenhouse. Pays for itself in reduced heating bills within weeks.
- Fitting time: 1-2 hours. Start at the ridge and work down. Use aluminium glazing bar clips.
- Reduce heated volume: Drape bubble wrap horizontally at gutter height to halve the space you heat.
- Monitor results: Use a max-min thermometer to track overnight temperatures after insulating.
Installer's Note
We insulate greenhouses during winter installation jobs and for customers who ask us back to fit heating systems. Bubble wrap insulation is the single most cost-effective upgrade you can make. We have seen overnight temperatures stay 4-5°C warmer in an insulated greenhouse compared to an identical uninsulated one next door. That difference is enough to keep tender plants alive through a hard frost.
Why insulate your greenhouse?
An uninsulated greenhouse loses heat fast. Single-glazed glass has almost no insulating value. On a still winter night, an unheated greenhouse matches the outside air temperature within two hours of sunset.
Insulation changes that equation. A single layer of bubble wrap creates a trapped air gap between the plastic and the glass. This works on the same principle as double glazing. Heat loss through the glazed surfaces drops by up to 50%.
That means your heater runs less often. Electricity costs fall. Your plants stay warmer without you spending more. For anyone heating your greenhouse through winter, insulation is the first step before buying any heater.
Insulation also reduces draughts. Bubble wrap blocks cold air from seeping through the tiny gaps between glass panes and aluminium glazing bars. These draughts are invisible but they strip heat from the greenhouse constantly.
Which insulation material works best?
Horticultural bubble wrap is the clear winner. It is purpose-made for greenhouse insulation with UV-stabilised plastic that resists degradation from sunlight. Standard packaging bubble wrap breaks down within a single season.
Choose large 20mm bubbles rather than small ones. The larger bubbles trap more air, giving better insulation. They also let more light through to your plants. Light transmission matters in winter when daylight hours are already short.
Good horticultural bubble wrap lasts three years or more. Some growers get five seasons from a single roll. At under £30 for enough to cover a 6x8ft greenhouse, it is the cheapest insulation investment you will make.
Polycarbonate twin-wall panels offer better insulation than bubble wrap. However, they cost significantly more and are harder to fit. For most hobby gardeners, bubble wrap delivers the best balance of cost, performance, and ease of fitting.
How much insulation do you need?
Measure the internal surfaces you plan to insulate. Include the roof panels and the vertical side walls. If you are insulating the entire greenhouse, measure every glazed face.
Add 10% for overlaps and wastage. Bubble wrap needs to overlap at every join to prevent draughts. Budget for at least 50mm overlap on every seam.
A standard 6x8ft aluminium greenhouse needs roughly 20-25 square metres of bubble wrap. A smaller 6x4ft greenhouse needs around 12-15 square metres.
You do not always need to insulate the whole structure. If you only overwinter a few plants, insulate half the greenhouse and partition it off. This costs less and the smaller heated area is easier to keep warm.
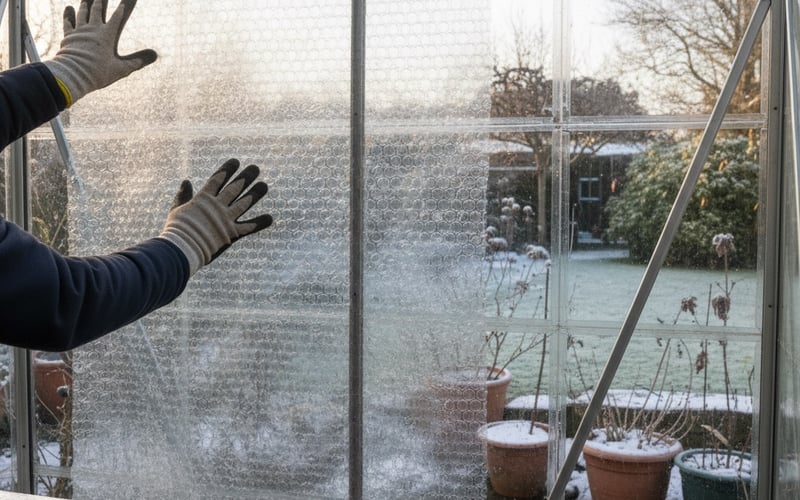
How to fit bubble wrap insulation
Start at the ridge and work downwards. Cut a piece of bubble wrap wide enough to cover one roof panel. Leave 50mm spare on each side for overlaps.
For aluminium greenhouses, use glazing bar clips. These snap into the channels on the aluminium bars and grip the bubble wrap firmly. You can buy bags of 50 clips for a few pounds. Press each clip into the glazing bar channel, then push the bubble wrap edge into the clip.
Work down both roof slopes from the ridge. Then fit the side wall panels from the eaves downward. Overlap each piece by at least 50mm. The bubble side should face the glass. This traps the maximum amount of insulating air between the bubbles and the glass surface.
For wooden greenhouses, drawing pins or a staple gun will hold the bubble wrap to the timber frame. Wooden frames are softer and easier to work with than aluminium.
Fit insulation around vents carefully. You still need at least one vent to open for air circulation on mild winter days. Cut the bubble wrap around the vent frame and clip it so the vent can still open freely.
Insulating part of your greenhouse
If you only need a small warm area, partition the greenhouse with a curtain of bubble wrap. Drape a sheet from the roof to the floor across the width of the greenhouse.
Position the insulated section at the end furthest from the door. Cold air blasts in every time you open the door. Keeping the warm section away from the entrance reduces heat loss dramatically.
Use two overlapping sheets for the curtain rather than one. This creates a walk-through opening without leaving a permanent gap. The overlap stops cold air passing through.
Understanding how greenhouses work helps here. A greenhouse traps solar radiation during the day. At night, that stored heat radiates out through the glass. The smaller the glazed area around your plants, the less heat escapes.
Matt's Tip: The Ceiling Curtain Trick
On larger greenhouses, I drape a horizontal sheet of bubble wrap at gutter height to create a false ceiling. This cuts the heated volume in half. You are no longer trying to warm the empty roof space above your head. Hot air rises and sits uselessly at the ridge. The ceiling curtain traps it where your plants actually are. I have used this trick on 8x10ft and larger greenhouses and it makes a noticeable difference to heating costs.
Temperature targets for winter
Different plants need different minimum temperatures. Set your heater thermostat based on what you are growing.
- 2°C — Frost-free: Basic frost protection for hardy perennials and overwintering dormant plants. This is the minimum worth maintaining.
- 7°C — Tender perennials: Citrus trees, fuchsias, pelargoniums, and half-hardy plants need this range to survive winter.
- 10°C — Plug plants and seedlings: Early seed sowing and spring bedding plugs need consistent warmth at this level.
- 13°C — Tropical plants: Orchids, tropical foliage, and houseplants overwintering in the greenhouse need the highest setting.
Most hobby growers aim for 2-7°C. Keeping a greenhouse at 13°C through a British winter is expensive even with insulation. Many cacti and succulents tolerate near-freezing temperatures. Deserts get surprisingly cold at night.
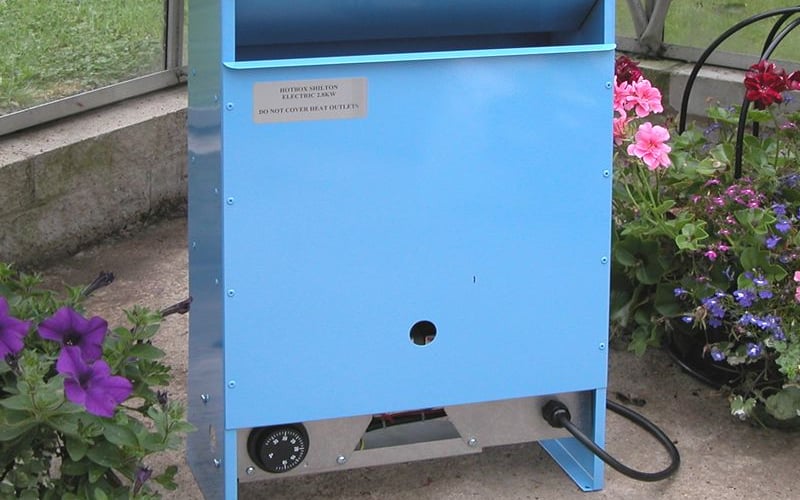
A quality electric fan heater with a built-in thermostat is the easiest way to maintain your target temperature. Browse our range of greenhouse heaters to find the right output for your greenhouse size.
Heater safety with insulation
Keep bubble wrap well away from any heat source. Bubble wrap is plastic. If it falls onto a heater element, it will melt and presents a fire risk. Secure every edge firmly with clips or pins before switching on any heater.
Paraffin and gas heaters produce moisture as they burn. They also consume oxygen and require ventilation. Do not seal every vent shut when using these heaters. Leave at least one low-level and one high-level vent slightly open for airflow. Our guide to heating without electricity covers paraffin and gas options in detail.
Electric fan heaters are the safest option inside an insulated greenhouse. Position the heater at floor level, away from plants and bubble wrap. Aim the airflow down the centre of the greenhouse so warm air circulates evenly.
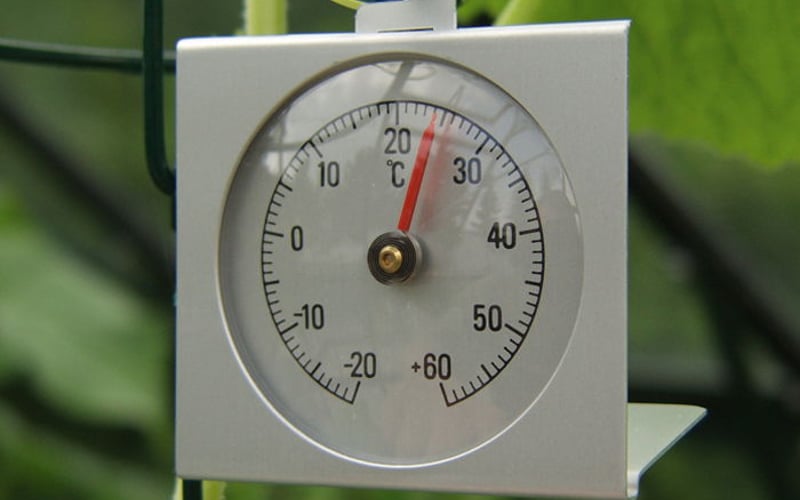
Monitoring temperature and humidity
A max-min greenhouse thermometer is essential after insulating. It records the highest and lowest temperatures since you last reset it. Check it every morning to see how cold the greenhouse got overnight.
A hygrometer measures humidity. Insulated greenhouses trap moisture as well as heat. High humidity encourages fungal diseases like botrytis (grey mould). If humidity climbs above 85%, open a vent for an hour on the next mild day. This lets damp air escape.
Good practice is to ventilate briefly on any day above 10°C. This refreshes the air, reduces disease pressure, and prevents condensation building up on the bubble wrap. An annual deep clean before winter helps too. Our guide to cleaning your greenhouse covers the full process.
Frequently asked questions
Does bubble wrap insulation really work?
Bubble wrap reduces greenhouse heat loss by up to 50%. The trapped air inside each bubble acts as an insulating barrier, working on the same principle as double glazing. We have measured 4-5°C warmer overnight temperatures in bubble-wrapped greenhouses compared to identical uninsulated structures during the same frost event.
How much does it cost to insulate a greenhouse?
A 6x8ft greenhouse costs under £30 to insulate with bubble wrap. Horticultural bubble wrap sells for around £1-£1.50 per square metre. You need approximately 20-25 square metres for a 6x8ft greenhouse. A bag of 50 glazing bar clips costs £3-£5. The total outlay pays for itself within weeks through reduced heating costs.
Can I use normal packaging bubble wrap?
Packaging bubble wrap works short-term but degrades within one season. It lacks UV stabilisation. Sunlight breaks down standard plastic within months, leaving brittle fragments that flake off and litter the greenhouse. Horticultural bubble wrap costs only slightly more and lasts 3-5 years.
How long does greenhouse insulation last?
Horticultural bubble wrap lasts 3-5 years before it needs replacing. UV-stabilised plastic resists sunlight degradation far better than standard wrap. Some growers remove the insulation each spring and store it flat through summer. This extends the lifespan further because the plastic is not exposed to peak UV during the hottest months.
Should I insulate the whole greenhouse or just part?
Insulate only the area you need to heat. Most hobby growers overwinter a small number of plants. Partitioning the greenhouse with a bubble wrap curtain and insulating one section costs less and heats more efficiently. Keep the insulated section at the far end from the door to minimise cold air ingress when you enter.
Does insulation reduce light levels?
Bubble wrap reduces light by approximately 10-15%. Large 20mm bubbles transmit more light than small bubbles. In winter, daylight is already limited, so this modest reduction rarely causes problems. Most overwintering plants are dormant or semi-dormant and do not need high light levels. Remove the insulation in spring once frost risk passes to restore full light transmission.