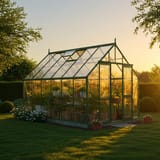
10 Common Greenhouse Installation Mistakes (and How to Avoid Them)
One in three greenhouse owners who attempt DIY assembly make a base-level mistake that causes problems for the life of the structure. We know this because we fix them. After 13 years of professional greenhouse installation and over 150,000 orders processed, we have seen every mistake possible. Most are avoidable. This guide covers the 10 we see most often, why they happen, and exactly how to prevent each one.
Key takeaways
- An unlevel base is the number one mistake. Your base must be within 5mm across the full diagonal
- Never fully tighten bolts until the entire frame is standing and squared
- Glazing alone or in wind above 15mph causes most breakages and injuries
- Always check the parts list on the ground before starting assembly
- Skipping the 6-month bolt check turns a 20-year greenhouse into a 5-year one
- Professional installation from £575 avoids every mistake on this list
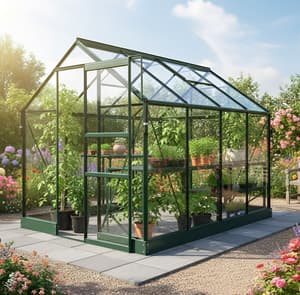
Shop the Vitavia Venus Greenhouse Base →
Installer's note
I could write a book about greenhouse installation disasters. We have been called to gardens where the frame has twisted so badly that the door will not open. We have seen greenhouses lift off their base in a moderate breeze because nobody bolted them down. We fixed one last year where the owner had used bathroom sealant instead of the glazing clips provided. Every mistake on this list comes from a real job. Learn from other people's errors so you do not repeat them.
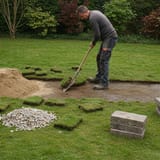
1. Building on an unlevel base
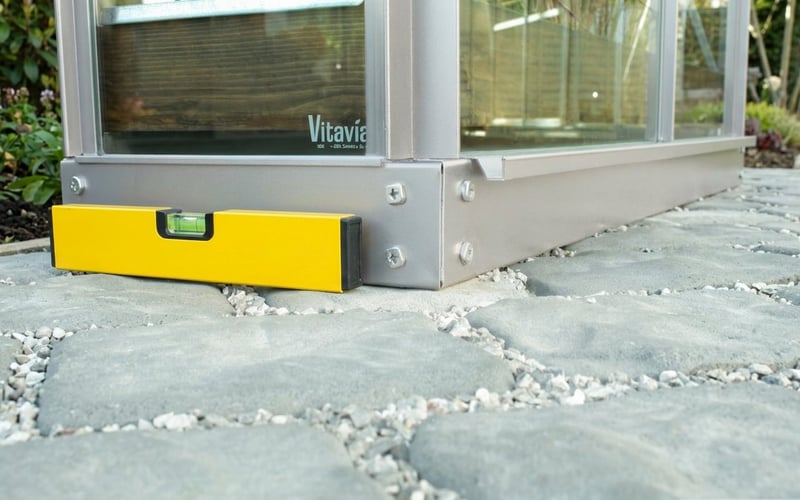
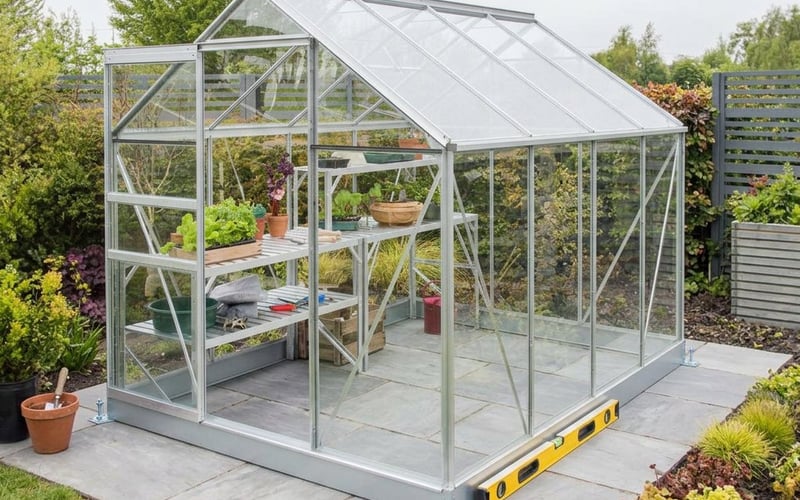
This is the single most common greenhouse installation mistake. We see it on roughly one in three DIY callouts. If your base is more than 5mm out of level across the diagonal, the frame will not sit square and everything after that point becomes harder. The door jams. Glazing bars misalign. Panes rattle. Draughts appear.
The fix is simple but it requires patience. Measure the diagonal both ways with a tape measure. If the two measurements differ by more than 5mm, the base is not square. Use a long spirit level (at least 1200mm) or a laser level to check for high and low spots. On paving, shim low slabs with mortar before bolting the frame down.
If you are still planning your base, our step-by-step guide to building a paving slab base covers the levelling process in detail. Spend an extra hour getting the base right. It saves days of frustration with the frame.
2. Not checking parts before starting
Unpacking every component and checking it against the parts list takes 15 minutes. Discovering a missing bracket three hours into the build costs you the rest of the day. We check parts on the ground before every single installation. It is the first thing our fitters do when they arrive on site.
Lay every bag of fixings, every aluminium bar, every clip, and every glazing panel on the lawn in an organised layout. Count bolts. Count clips. Match everything to the manual's parts list. Missing items are rare with brands like Vitavia and Elite, but transport damage happens. A bent glazing bar spotted on the ground is a quick supplier call. A bent bar discovered at ridge height is a whole day wasted.
Photograph the parts layout on your phone. If something is missing or damaged, that photo makes the replacement process much faster with the supplier. This single habit separates a smooth build from a painful one.
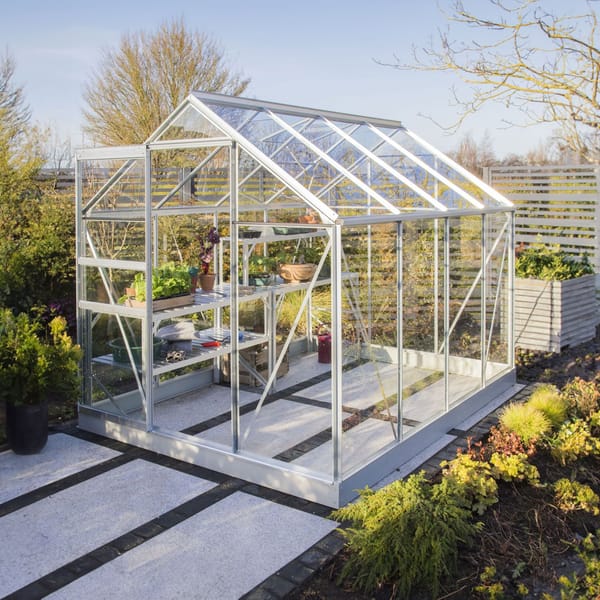
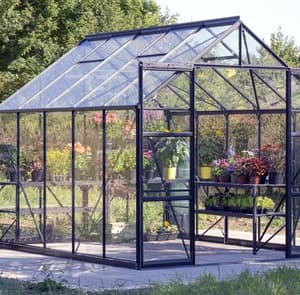
Shop the Vitavia Venus 5000 8x6 Greenhouse →
3. Over-tightening bolts during assembly
Every bolt should be finger-tight during assembly. Only tighten fully once the entire frame is standing and squared. Over-tightening early warps the aluminium profile and prevents the frame from flexing into alignment. We see this on almost every DIY build we are asked to inspect.
Aluminium is softer than steel. A 10mm spanner with too much force will strip the thread or crush the channel. The frame needs to flex during assembly as bars connect and walls stand up. If you lock one section rigid, the next section will not align. Our fitters use a three-stage tightening process: finger-tight during assembly, snug once squared, and final torque after six months.
The instinct to tighten every bolt as you go feels like progress. It is actually the opposite. Fight the urge. Leave your spanner in your pocket until the ridge bar is on and the diagonals match.
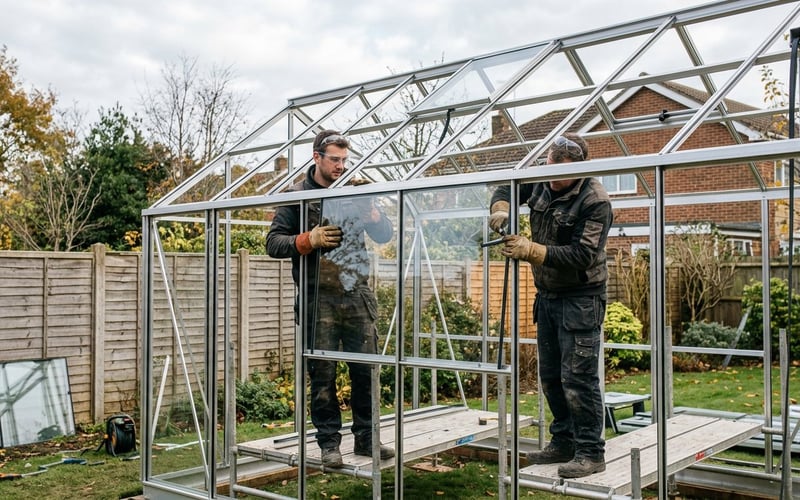
4. Glazing alone or in windy conditions
Never glaze a greenhouse alone. Never glaze in wind above 15mph. A horticultural glass pane caught by a gust becomes a blade that can cause serious injury. This is not a suggestion. This is the rule every professional fitter follows without exception.
Both people work from the outside. One holds the pane steady against the glazing bar while the other clips or seals it into place. Greenhouse glass is always fitted from the outside, sliding panes down into the channels from above. A single person trying to hold a pane, position it, and clip it simultaneously is how accidents happen.
Check the Met Office forecast before your glazing day. You need a calm, dry day. If the wind picks up while you are working, stop. Cover the unglazed frame with a tarpaulin and come back when conditions improve. We have postponed plenty of professional installations for weather. There is no shame in waiting. For more on wind protection, read our greenhouse wind damage guide.
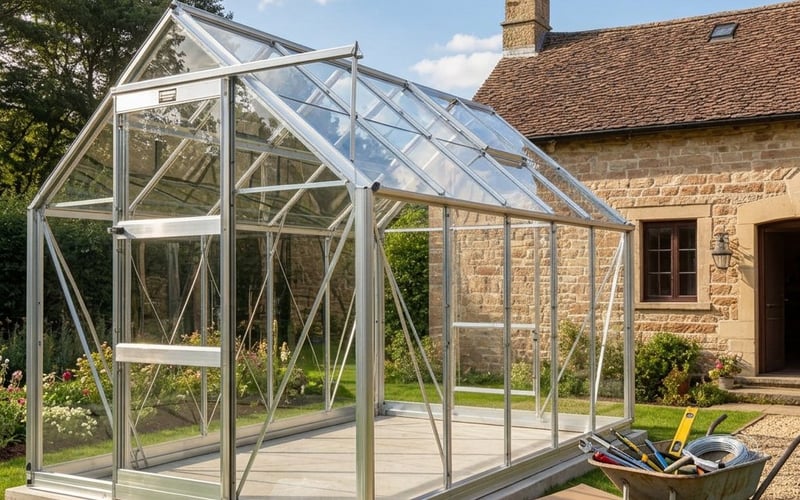
View our professional greenhouse installation service →
5. Skipping the six-month bolt check
Aluminium expands roughly 1mm per metre with temperature changes. After a full summer and winter cycle, bolts loosen, clips shift, and rubber seals settle. A 20-minute check with a spanner prevents years of rattling panes and draughts. This is the maintenance step that separates greenhouses lasting 5 years from those lasting 25.
Go around every bolt with a 10mm spanner six months after installation. Give each one a quarter turn. Check the glazing clips. Press any loose ones back into position. Test the door alignment. If it sticks or has a gap at the top, the frame has shifted slightly. Loosen the hinge bolts, realign, and retighten.
Do this check every March and September going forward. It takes less time than making a cup of tea. We mention this to every customer and fewer than half actually do it. The ones who do never call us about draughty greenhouses.
6. Choosing the wrong base for your soil type
Paving slabs on clay soil sink unevenly. Concrete pads on sand can crack. Ground anchors on soft earth pull out in strong wind. The right base depends on what is underneath it. We have arrived at installations where the customer laid slabs on uncompacted clay and the greenhouse had already developed a visible lean within months.
On clay soil, excavate at least 150mm deeper than you think you need and fill with compacted MOT Type 1 hardcore before laying slabs or pouring concrete. On sandy soil, a concrete pad with reinforcing mesh is the safest option. On chalk or rocky ground, paving slabs on a mortar bed work well. Our guide to preparing the ground for a greenhouse base covers every UK soil type.
If you are unsure about your soil, dig a test hole 300mm deep. What you see will tell you everything. Clay is grey, sticky, and holds water. Sand is loose and drains fast. Topsoil over chalk shows white fragments. Match the base method to the ground and the greenhouse stays level for decades.
7. Not anchoring the greenhouse to the base
An unanchored greenhouse is the single biggest cause of storm damage claims we deal with. A 6x8ft aluminium frame weighs only 40 to 50kg before glazing. Even fully glazed, a 50mph gust can lift it. Anchoring takes 30 minutes and costs under £20 in fixings. Not anchoring can cost you the entire greenhouse.
On paving, use rawlbolts through the base frame into the slabs. Drill a 10mm hole through the frame's pre-drilled anchor points, straight into the paving. On concrete, bolt directly through the base frame into the pad. On soft ground, use screw-in ground anchors at each corner and every 1200mm along the sides.
We anchor every greenhouse we install. No exceptions. Even in sheltered gardens. Wind funnels between houses and fences in ways you cannot predict. We had a callout last autumn where a greenhouse had been sitting unanchored for two years. One November storm rolled it across the garden and into the neighbour's fence. The greenhouse was destroyed. The fence needed replacing. The base was fine.
Shop the Elite Craftsman 6x10 Greenhouse →
8. Forcing misaligned parts instead of stepping back
If a bar does not fit, the answer is never more force. The answer is to loosen the surrounding bolts and let the frame flex into alignment. Aluminium bends permanently if you force it. Once a glazing bar is kinked, it will never sit flat and the glass above it will always rattle.
When parts do not line up, work backwards. Loosen the last three or four bolts you tightened. Gently push the frame into the correct position. If a bolt hole does not align, the frame is not square. Recheck the diagonals. Nine times out of ten, the problem started two steps earlier with a bar that was slightly off-angle. Fixing it at the source takes five minutes. Forcing it through makes a problem you will live with for 20 years.
Our fitters carry a rubber mallet for gentle persuasion, never a metal hammer. If you hit aluminium with steel, it dents. The dent weakens the profile and looks terrible. A rubber mallet gives you the nudge you need without the damage.
9. Not reading the instructions before starting
This sounds obvious but it is the root cause of at least half the other mistakes on this list. Most greenhouse manuals are 20 to 40 pages long. They take 15 to 20 minutes to read. That investment of time saves hours of backtracking.
Read the manual cover to cover the night before you plan to build. Understand the sequence. Identify the parts in the diagrams. Note any steps that seem complex so you can slow down when you reach them. Our full step-by-step greenhouse installation guide walks through the entire process with brand-specific tips for Vitavia, Elite, and Palram.
The manuals from Vitavia are the most detailed in the industry. Elite manuals are shorter but assume more DIY experience. Palram Canopia manuals are picture-heavy and very clear. Whichever brand you have, the manual is your most important tool. Treat it like the expensive piece of equipment it came with.
Matt's tip: the night-before read
I still read the manual the night before every installation, and I have fitted thousands. Every model has quirks. The Vitavia Venus has a specific ridge bar sequence that catches people out. The Elite Craftsman has a roof brace that looks identical to a side brace but is 15mm shorter. Read the manual with a cup of tea and a highlighter the evening before you build. Circle anything that looks tricky. On build day, you will move through those steps with confidence instead of confusion.
10. Rushing the concrete base cure
Concrete needs at least 72 hours above 5°C to cure properly. Walking on it after 24 hours is fine. Bolting a greenhouse frame to it and loading it with glass is not. We have seen concrete pads crack under the point load of a base frame corner because the customer started building 48 hours after pouring.
In summer, 72 hours is usually enough. In spring and autumn, allow 5 to 7 days. In winter, do not pour concrete at all. Frost during the cure causes the surface to spall and the internal structure to weaken. If you must build in winter, use a fast-setting concrete mix rated for cold weather and cover the pad with insulating blankets.
If you are building on a paving slab base instead, the mortar joints still need 48 hours to set before you add weight. Our guide to building a concrete greenhouse base covers curing times for every UK season.
When to call a professional instead
If you have read this list and feel uncertain about any step, professional installation removes every risk. Our factory-trained fitters handle the base check, assembly, glazing, anchoring, and cleanup. Every build comes with a 12-month workmanship warranty. We bring our own tools and spare parts.
Professional greenhouse installation costs £575 for a 6x4ft up to £1,000 for an 8x14ft. For most customers, that is less than the cost of replacing broken glass, buying extra tools, and spending a frustrating weekend on a job that a professional completes in half a day.
We install across the UK with fitters trained by the manufacturers themselves. Swallow wooden greenhouses include free professional installation as standard when ordered through us. For aluminium models, the installation service is the best money you will spend on your greenhouse after the greenhouse itself.
|
Matt's pick for easiest DIY assemblyBest For: First-time builders who want a forgiving assembly process Why I Recommend It: The Venus 5000 has the clearest manual of any Vitavia model and a clip glazing system that forgives slight misalignment. If you are doing your first build, this is the model least likely to trip you up. Price: £509 |
Frequently asked questions
What is the most common greenhouse installation mistake?
Building on an unlevel base is the most common mistake. We see it on roughly one in three DIY installations we are called to fix. If the base is more than 5mm out of level across the diagonal, the frame will not square, the door will jam, and glazing will never seal properly. Always check with a spirit level before bolting the frame down.
Can I fix a greenhouse that was installed incorrectly?
Yes, most installation mistakes are fixable. Misaligned frames can usually be loosened, squared, and retightened. Loose glazing can be reclipped. Unanchored greenhouses can be bolted down at any time. The one exception is a fundamentally unlevel base. If the base has sunk or shifted, you may need to lift the frame, relay the base, and reinstall. That is a bigger job but still cheaper than a new greenhouse.
How do I know if my greenhouse base is level enough?
Measure the diagonals corner to corner with a tape measure. If both diagonals are within 5mm of each other, the base is square enough. Then place a spirit level on every edge and across every slab. No gap should exceed 3mm between the level and the surface. A laser level makes this faster and more accurate.
Do I need two people to build a greenhouse?
Yes, for safety and speed you need two adults. One person cannot safely hold end walls upright while bolting, support roof bars, or handle glass panes at height. The base frame and lower wall bars can be managed solo, but everything above shoulder height needs a helper. Glazing alone is genuinely dangerous.
How long should I wait before using a new greenhouse?
Wait 24 hours after assembly before loading with staging, pots, or heavy equipment. This lets the frame settle on the base and allows you to do a final check of all bolt positions. If your base is concrete, ensure the full 72-hour cure time has passed before bolting the frame down. After the 24-hour settling period, your greenhouse is ready to plant.
What should I do if parts are missing from my greenhouse kit?
Contact your supplier immediately with the model name, missing part number, and your order reference. Do not attempt to improvise with hardware store alternatives. Greenhouse fixings are specific to each brand and model. Replacement parts typically arrive within 3 to 5 working days. We keep common Vitavia and Elite spare parts in stock for faster dispatch.
Is professional installation worth the cost?
Yes, especially for greenhouses 8ft wide or larger. Professional installation costs £575 to £1,000 depending on size. You get factory-trained fitters, proper tools, a 12-month workmanship warranty, and a build that avoids every mistake on this list. For most customers, the peace of mind alone justifies the cost.