How to Install a Greenhouse: Step-by-Step Guide from Professional Fitters
A standard 6x8ft aluminium greenhouse takes two adults 6 to 8 hours to assemble on a prepared base. The most common mistake is starting on an unlevel surface. Every millimetre matters. We have assembled greenhouses professionally for over 13 years and processed more than 150,000 orders. This guide covers every step from unpacking to final bolt check, with brand-specific tips no competitor can offer because they have never fitted one.
Key Takeaways
- A 6x8ft greenhouse takes 6 to 8 hours with two adults. A 8x10ft takes 8 to 12 hours
- Your base must be level within 5mm across the full diagonal. Anything more and the frame will not square
- Keep every bolt finger-tight until the entire frame is up. Only final-tighten once everything is square
- Never glaze in wind above 15mph. One gust and a pane becomes a blade
- Professional installation costs £575 to £1,000 depending on size
- Vitavia uses clip glazing (faster). Elite uses rubber strip glazing (more weatherproof)
View our full greenhouse installation guide and service options →
Installer's Note
I have watched customers attempt greenhouse assembly without reading a single instruction. I have also watched factory-trained fitters work through a build methodically in half the time. The difference is not skill. It is patience. Read the manual cover to cover before you unpack a single part. Lay every component out on the lawn and check it against the parts list. Missing a bracket on step 47 when you are three hours in ruins your whole afternoon. Trust me on this one.
What tools do you need to install a greenhouse?
You need a 10mm spanner, a Phillips screwdriver, safety goggles, rubber-palmed gloves, and a step ladder. That basic kit costs under £50 and covers 90% of aluminium greenhouse assemblies. Most greenhouses ship with fixings included. You supply the tools and the patience.
A cordless drill with a screwdriver bit speeds up the process considerably. A socket set with 10mm and 13mm sockets is faster than an open spanner for bolt-heavy frames like the Elite Craftsman. We carry both on every job. A spirit level is non-negotiable. You need it for the base, the frame, and the ridge bar. Borrow one if you must.
One tool most people overlook is a glass sucker. They cost £8 to £12 and make handling horticultural glass panes far safer. Without one, you are gripping slippery glass with gloved fingers at height. That is how panes crack and how hands get cut. Professionals use them on every single glazing job.
How long does it take to build a greenhouse?
A 6x8ft aluminium greenhouse takes two competent adults 6 to 8 hours. A 6x4ft takes 4 to 5 hours. An 8x12ft or larger takes a full day or more. These times assume a prepared, level base and no wind. Add 2 to 3 hours if you are building your first greenhouse. Subtract 1 to 2 hours if you have done it before.
| Greenhouse Size | DIY Time (2 Adults) | Difficulty | Pro Install Cost |
|---|---|---|---|
| 6x4ft | 4-5 hours | Moderate | £575 |
| 6x6ft | 5-7 hours | Moderate | £620 |
| 6x8ft | 6-8 hours | Moderate | £670 |
| 6x10ft | 7-9 hours | Moderate-Hard | £710 |
| 8x8ft | 8-10 hours | Hard | £880 |
| 8x10ft | 8-12 hours | Hard | £910 |
| 8x12ft | 10-14 hours | Hard | £950 |
| 8x14ft+ | 12+ hours (2 days) | Very Hard | £1,000 |
Wooden greenhouses take roughly 50% longer than aluminium equivalents. A Swallow 6x8 takes a professional fitter a full day. Polycarbonate-glazed models like the Palram Canopia range are faster to glaze than glass models because the sheets are lighter and do not shatter.
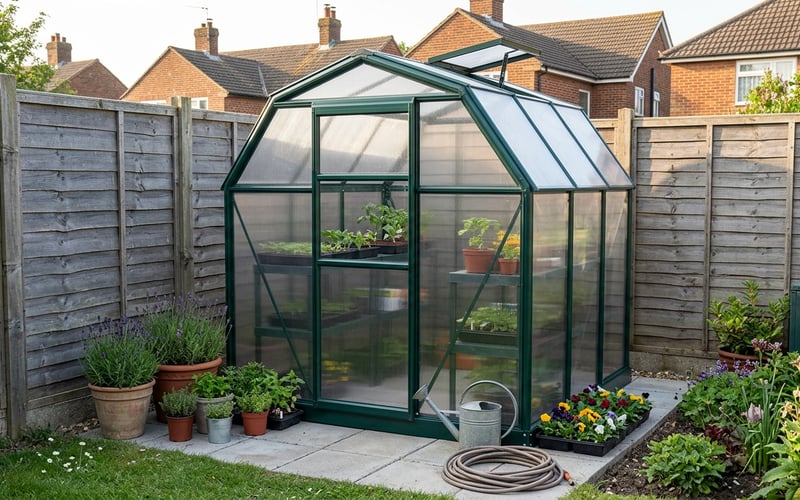
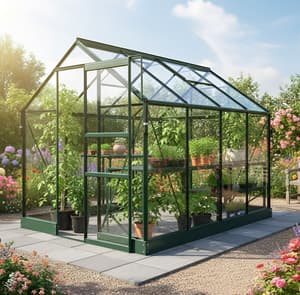
Shop the Vitavia Venus 5000 8x6 Greenhouse →
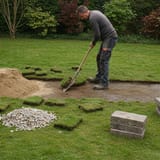
What base do you need for a greenhouse?
Every greenhouse needs a firm, level base. The three main options are paving slabs (£300 to £600 for a 6x8ft), a concrete pad (£600 to £1,200), or ground anchors on compacted hardcore (£50 to £100). Paving slabs are the most popular choice for DIY builders. Concrete is the gold standard for larger greenhouses above 8ft wide.
The base must be level within 5mm across the full diagonal. Measure corner to corner both ways. If the diagonals differ by more than 5mm, the frame will not sit square and you will fight the glazing for hours. We check this with a laser level on every install. A long spirit level works for DIY.
If you are building on soil, our detailed guides cover how to build a paving slab base and how to build a concrete base step by step. Allow the concrete to cure for at least 72 hours before putting any weight on it. Rushing the cure is the second most common mistake we see.
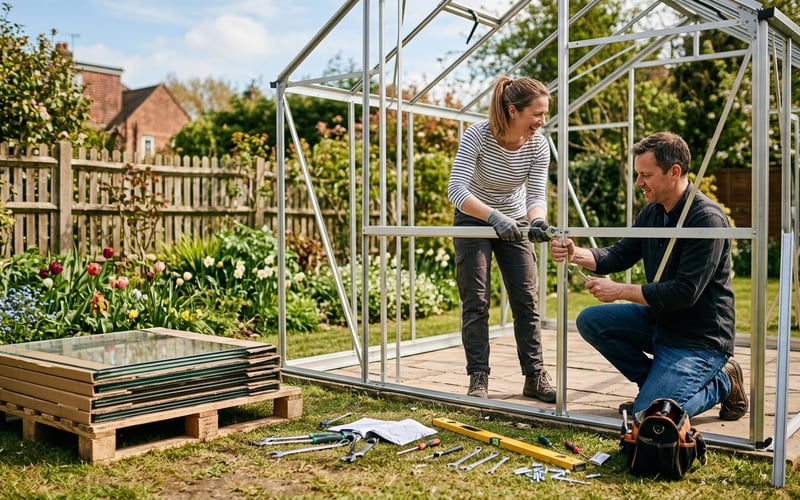
How do you assemble a greenhouse frame step by step?
Start with the base frame, then build the two end walls flat on the ground, stand them up, connect the side bars, add the ridge, and finish with the door and vents. This is the standard sequence for Vitavia, Elite, and most aluminium kits. Wooden greenhouses like Swallow follow a different process with pre-assembled panels.
Lay every part on the lawn first and check against the parts list. Count every bolt, nut, clip, and bracket before you start. Missing parts are easier to spot on the grass than when you are halfway up a ladder. Every greenhouse we have ever assembled has had the parts checked on the ground first. It takes 15 minutes and saves hours.
The critical rule is finger-tight only. Do not fully tighten any bolt until the entire frame is standing and squared. Aluminium expands and contracts with temperature. If you over-tighten early, the frame distorts and glazing bars misalign. We tighten bolts three times: finger-tight during assembly, snug once the frame is square, and a final check after six months once the aluminium has been through a full thermal cycle.
How do the major brands differ during assembly?
Every greenhouse brand has a different assembly system. Vitavia uses a spring-clip glazing system that is fast but needs firm pressure. Elite uses rubber strip glazing that takes longer but creates a better seal. Palram Canopia uses polycarbonate sheets that slide into channels. Knowing your brand's system before you start saves real time.
Vitavia greenhouses have the most parts of any brand we fit. The Venus 5000 has over 200 individual components. The clips are fiddly but they work well once you learn the knack. Push the clip onto the glazing bar, slide the glass in from the top, and press the opposite clip home. Wear gloves. The aluminium edges are sharp enough to cut skin.
Elite greenhouses use thicker aluminium profiles with rubber gasket strips. Assembly takes longer but the finished result is more weatherproof. The rubber strip system also makes reglazing easier if you ever crack a pane. We find Elite frames the most satisfying to assemble because the tolerances are tighter and the finished frame feels solid.
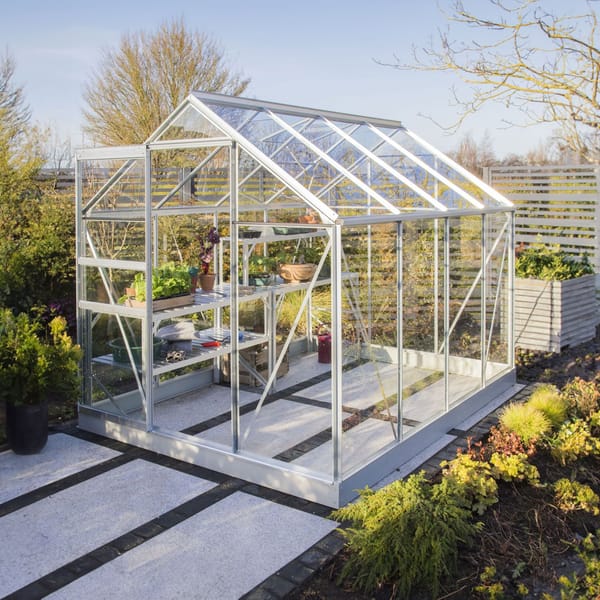
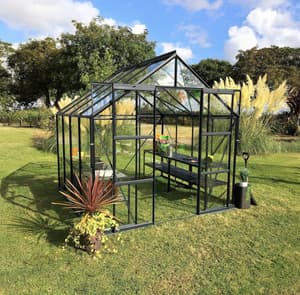
Shop the Elite Craftsman 6x10 Greenhouse →
How do you glaze a greenhouse safely?
Never glaze in wind above 15mph. Wear safety goggles and thick gloves. Start with the roof panels and work down to the sides. Always have a second person holding each pane while you clip or seal it. Glass is the most dangerous part of any greenhouse build. We have seen deep lacerations from dropped panes. Respect the material.
Horticultural glass is thinner and lighter than toughened glass but it shatters into sharp shards. Toughened glass is heavier and shatters into small cubes, similar to a car windscreen. If you have children or pets near the greenhouse, toughened glass is worth the extra cost for safety alone. Our guide to glass versus polycarbonate greenhouses covers the full comparison.
Use a glass sucker for every pane. Start at the bottom of each side wall and work up. For roof panes, one person stands inside on a step ladder feeding the glass up while the other guides it into the glazing bars from outside. Never lean glass panes against the frame while you work. Lay them flat on cardboard on the lawn until you are ready.
What are the 5 most common installation mistakes?
The number one mistake is building on an unlevel base. We see this on at least a third of DIY installations we are called to fix. If the base is off by even 10mm across the diagonal, the door will not close properly and glazing will not seal. Getting the base right before you start is more important than anything else in this guide.
Mistake two: over-tightening bolts early. Mistake three: glazing alone or in windy conditions. Mistake four: not checking the parts list before starting, then discovering a missing bracket three hours in. Mistake five: skipping the six-month bolt check. Aluminium expands roughly 1mm per metre with temperature changes. After a full summer and winter cycle, bolts loosen. A 20-minute check with a spanner prevents rattling panes and draughts for years to come.
If you would rather avoid these risks entirely, our professional greenhouse installation service covers everything from base inspection to final cleanup. Factory-trained fitters, 12-month workmanship warranty, and we bring our own tools.
Matt's Tip: The Six-Month Bolt Check
This is the tip that separates greenhouses that last 5 years from greenhouses that last 25. Six months after installation, go around every bolt with a 10mm spanner and give each one a quarter turn. The aluminium frame will have expanded and contracted through its first thermal cycle. Bolts loosen. Clips shift. Rubber seals settle. Twenty minutes with a spanner twice a year keeps the frame tight, the glazing sealed, and the door aligned. I do this on my own greenhouse every March and September.
What is the best time of year to install a greenhouse?
Spring (March to May) and early autumn (September to October) are the best times to install a greenhouse in the UK. Wind speeds are generally lower, temperatures are comfortable for working outside, and the concrete base has time to cure properly. Avoid installing during winter freezes or summer heatwaves.
Concrete bases need at least 72 hours above 5°C to cure correctly. Pouring a base in December means risking frost damage. Our busiest installation months are April and May. Customers want greenhouses ready for the growing season. If you order in February and lay the base in March, you will be planting by April.
Summer installations work fine if the weather cooperates. The main risk is heat making aluminium uncomfortable to handle with bare hands and softening putty-based seals. We always check the Met Office forecast before scheduling a glazing day. Two dry, calm days in a row is all you need. For advice on the best position for a greenhouse, read our dedicated guide before you commit to a base location.
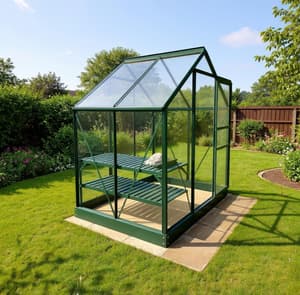
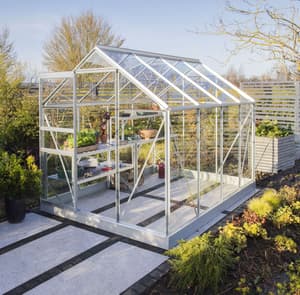
Shop the Palram Canopia 6x6 EcoGrow Greenhouse →
Should you install a greenhouse yourself or hire a professional?
DIY saves £575 to £1,000 on installation costs but takes 6 to 14 hours of your time and carries the risk of misaligned frames or broken glass. Professional installation from our factory-trained fitters costs £575 for a 6x4ft up to £1,000 for an 8x14ft. Every professional build comes with a 12-month workmanship warranty.
If you are handy, have assembled flat-pack furniture, and can recruit a willing helper for a full day, DIY is entirely achievable. Read the instructions completely before starting. Budget a full weekend: one day for the base (if needed) and one day for the frame and glazing.
If you are short on time, uncomfortable working at height, or have ordered a greenhouse larger than 8x8ft, professional installation is worth every penny. Our fitters complete a standard 6x8ft build in under 4 hours. They bring all tools, handle the glazing safely, check the frame is square to the millimetre, and leave the site clean. We have fitted greenhouses in over 50 UK postcodes.
|
Matt's pick for easiest DIY assemblyBest For: First-time greenhouse builders who want a quality frame without professional help Why I Recommend It: The Venus 5000 has the clearest instructions of any Vitavia model. The clip glazing system is intuitive once you get the first three panes in. Two adults can have this up in 6 hours. Price: £509 |
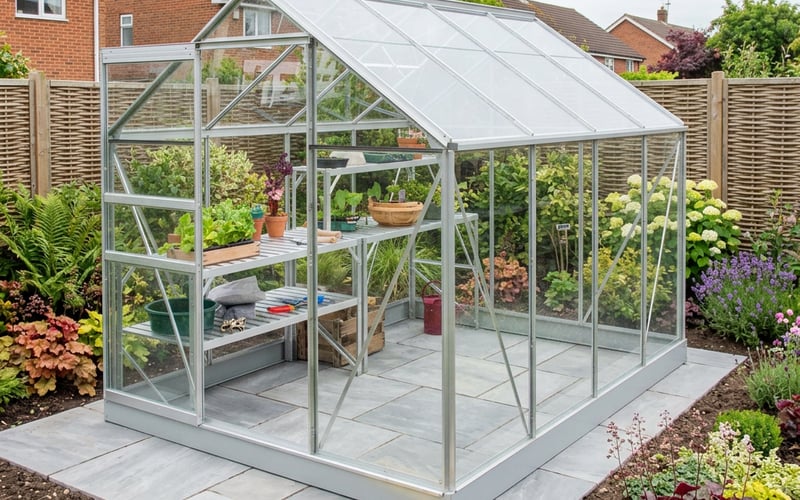
What should you do after installing a greenhouse?
After installation, check every bolt is snug, test the door opens and closes smoothly, verify all vents operate, and run water over the roof to check for glazing leaks. Do not load the greenhouse with heavy staging or plants for at least 24 hours. Let the frame settle on the base first.
Attach guttering and connect it to a water butt straight away. Greenhouse roofs collect a surprising amount of rainwater. A 6x8ft greenhouse captures roughly 3,000 litres per year. That is free irrigation for the entire growing season. Our guide to greenhouse watering and irrigation covers the full setup.
Set a reminder for six months from now to do the bolt check. Mark it in your calendar. This single step extends the life of your greenhouse by years. After the bolt check, your greenhouse needs almost zero structural maintenance. Clean the glass once or twice a year, oil the door hinges, and check the rubber seals. That is it. A well-installed aluminium greenhouse will last 20 years or more with that level of care.
Frequently asked questions
Can one person build a greenhouse alone?
Technically yes, but we strongly advise against it. You need a second pair of hands to hold end walls upright while bolting, to support roof bars, and especially for glazing. Trying to fit glass alone is dangerous. One person can manage the base frame and some of the lower frame assembly, but everything above shoulder height needs two people. Budget the same time but bring a helper.
Do I need planning permission for a greenhouse?
No, most UK greenhouses fall under permitted development rights. Your greenhouse must be single storey, under 4 metres high (3m for a flat roof), not cover more than 50% of the garden, and sit at least 2 metres from any boundary if over 2.5m tall. Listed buildings and conservation areas have stricter rules. Our full guide to greenhouse planning permission covers every scenario.
How much does professional greenhouse installation cost?
Professional installation costs £575 for a 6x4ft up to £1,000 for an 8x14ft. This includes assembly, glazing, door and vent fitting, frame squaring, and site cleanup. The base must be prepared beforehand. Swallow wooden greenhouses include free installation as standard when ordered through us.
What happens if glass breaks during assembly?
Contact your supplier immediately for a replacement pane. Horticultural glass breaks into sharp shards. Stop work, clear the area, and sweep up every fragment before continuing. Wear thick shoes. We keep spare panes on the van for every job. If you are assembling DIY, order one or two spare panes with your greenhouse as insurance. They cost £5 to £15 each.
Do greenhouse kits come with all fixings included?
Yes, all major UK brands include fixings in the box. Vitavia, Elite, Palram Canopia, and Eden greenhouses ship with every bolt, clip, and bracket needed. You supply the tools. Check the parts list against the bag contents before you start. Missing fixings are rare but they do happen. Report any shortages to your supplier before you begin assembly.
How do I level a greenhouse base on sloping ground?
Cut into the slope on the high side and build up the low side with hardcore and concrete. The finished base must be dead level. On gentle slopes (under 1 in 20), a deeper concrete pad with shuttering on the low side works well. On steeper slopes, you may need a retaining wall on the cut side. If the slope is severe, consider a different location in the garden. For detailed base preparation advice, read our guide to preparing ground for a greenhouse base.
Should I anchor my greenhouse to the base?
Yes. Every greenhouse should be anchored to its base. Aluminium greenhouses are lightweight. A 6x8ft frame weighs around 40 to 50kg before glazing. Even fully glazed, a strong gust can lift an unsecured greenhouse off its base. Use the anchor bolts or base fixings provided. On paving, use frame fixings with rawlbolts into the slabs. On concrete, bolt directly through the base frame. Unsecured greenhouses are the single biggest cause of storm damage claims we deal with.
Related articles
- How to set up a new greenhouse: first-time owner's checklist
- Essential greenhouse accessories: what you actually need
- Greenhouse ventilation guide: vents, fans and stopping overheating
- Greenhouse staging and shelving guide: what to buy and how to set up
- Greenhouse wind damage: prevention, storm prep, and repair guide