
 Vitavia Cassandra assembly guide
Vitavia Cassandra
Sizes 8300, 9900, 11500

Pick your size at the top. Quantities and drawings change to match.
The build at a glance
 0 Prepare the foundation and wall
 1 Build both side frames
 2 Build the back gable
 3 Build the door gable
 4 Join and position the frame
 5L Fit the left-hand door
 5R Fit the right-hand door
 6 Build and fit roof vents
 7 Fit the glass
Before you start
Six golden rules
- Build frames loose; tighten only when the whole greenhouse stands square on its base.
- Measure both diagonals; they must be equal.
- Never overtighten nuts 1002: maximum 3 Nm. Overtightening strips aluminium and cracks glass.
- Fit extra bolts when instructed; you cannot add them after bar ends are capped.
- Build with two people.
- Always anchor your greenhouse. An unanchored greenhouse can blow away.
Get ready
- Read the whole guide once before you start.
- Gather flat/PH2 screwdrivers, 10 mm socket spanner/wrench, 10 mm combination spanner, knife, tape measure, spirit level. Set cordless drill adjustable torque low.
- Wear gloves, safety glasses, sturdy shoes and a hat. Aluminium edges are sharp. Clear up broken glass straight away.
- Open one bundle at a time and keep opened bundles apart. Mixed bundles are the main cause of lost-part searches.
- Check every part against the parts check pages. Contact Greenhouse Stores before you begin if anything is missing.
- Read single-frame drawings as views from inside the greenhouse. Read double-frame drawings as views from outside.
- Choose a sunny spot with as much shelter from wind as possible.
Parts check
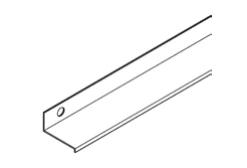
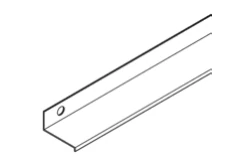
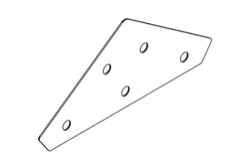
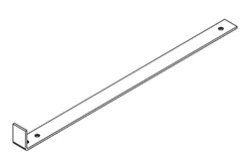
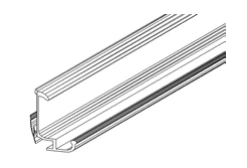
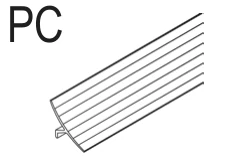
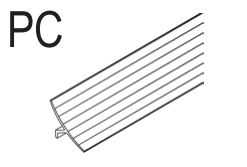
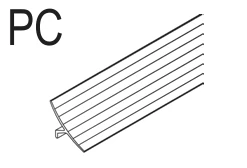
Open one bundle at a time. Tick each part as you find it. The number in green is how many your size should have.
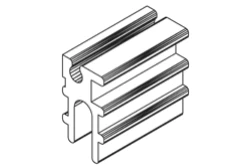
Bars and profiles
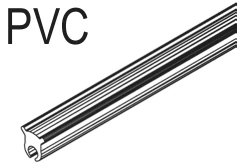
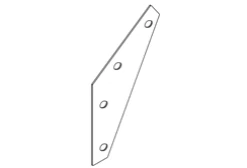


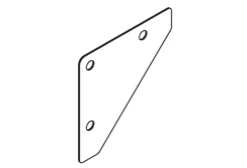
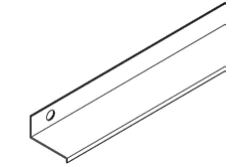
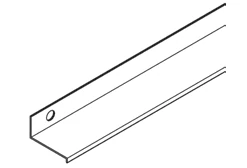
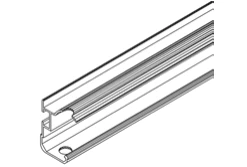
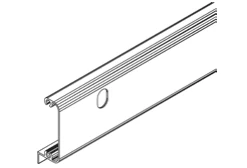
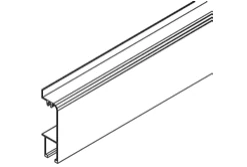

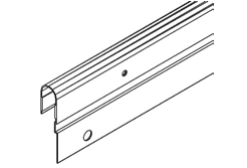
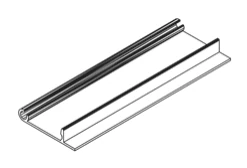

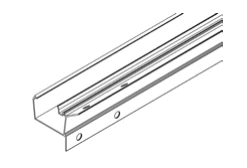
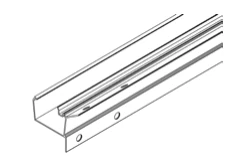
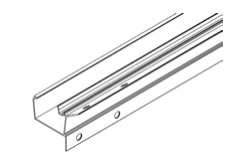
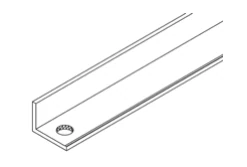


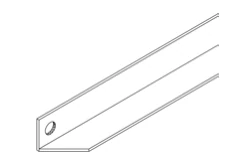
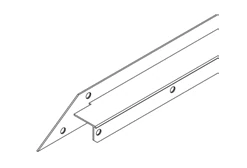

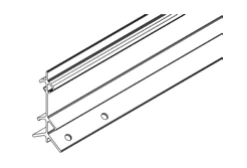
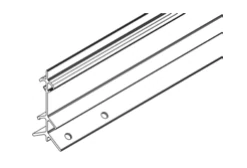


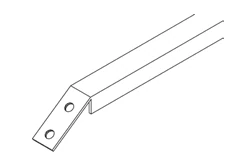
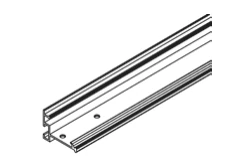
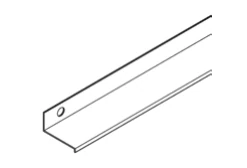
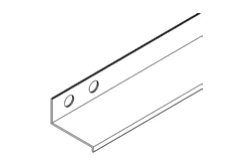
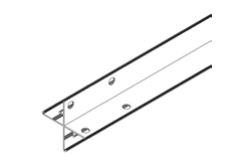
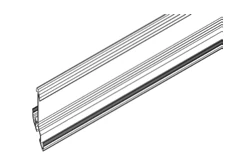


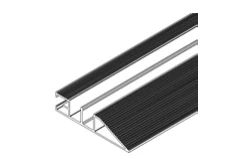
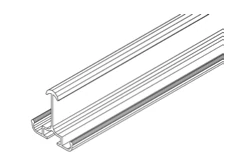
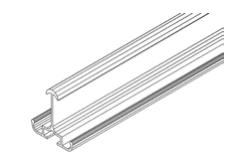






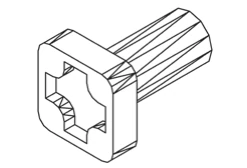
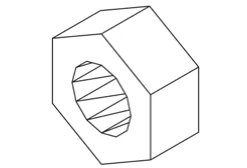
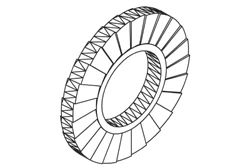
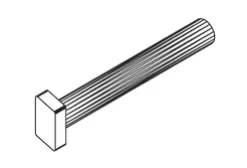
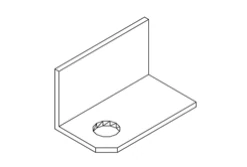
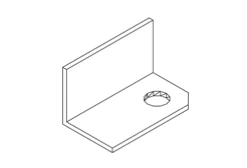
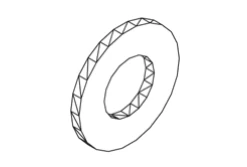
Fixings and small parts







Prepare the foundation and wall
Build your foundation and 500 mm wall before you assemble the greenhouse.
| 8300 | 9900 | 11500 | |
|---|---|---|---|
| A | 3176 mm | 3798 mm | 4420 mm |
| B | 2564 mm | 2564 mm | 2564 mm |
Watch out
If the wall is not square and level, the frame above will not be either. Glass will not fit a frame that is out of square.
Make the foundation exactly square and level, below frost level. Use the page's A size plus 70 mm by its B size. Measure both diagonals: they must match, X = X.
Leave at least 70 mm of foundation in front of the wall to support door guide 2070 in step 4.

Build the wall 500 mm high, using drawing 0B and the C and D sizes. Leave the front door opening at 1218 mm, the maximum shown.
Check the wall is exactly square and level. Make the wall top at least 60 mm wide for base profiles 2060 and 2061.
Only on very windy, exposed sites, drill through the greenhouse base profiles and fix them to the wall top. Supply your own screws and wall plugs.
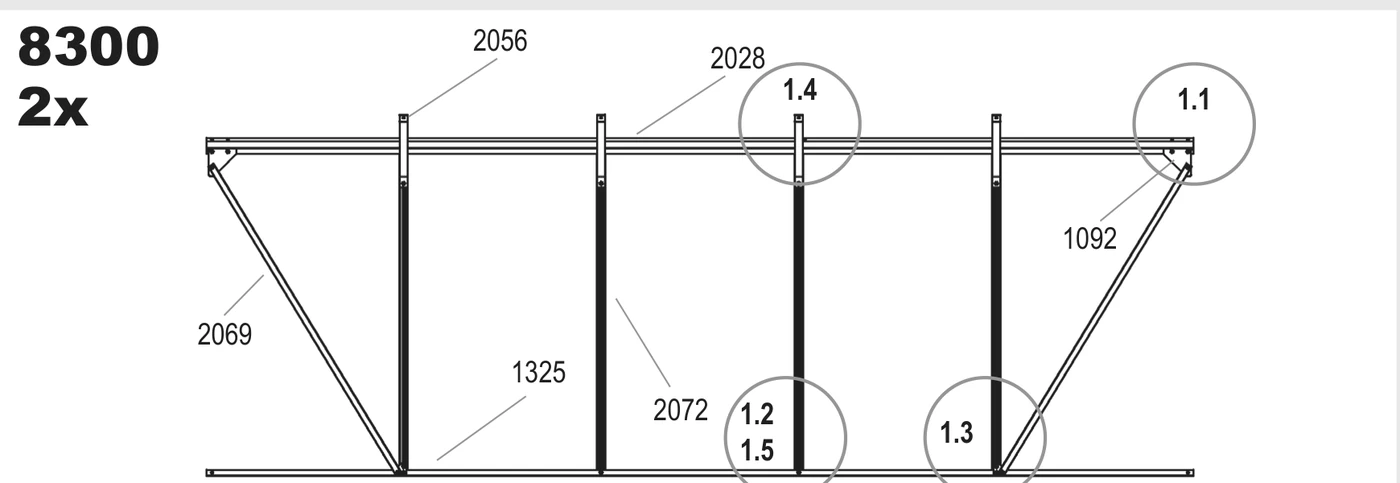
Build both side frames
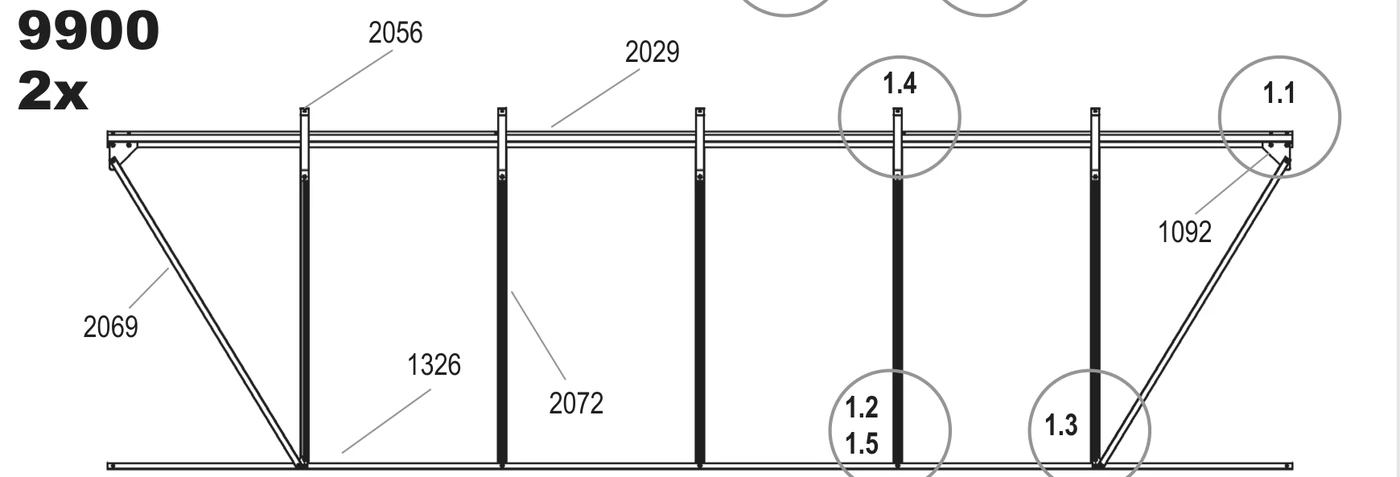
Build two identical side frames flat on the ground, with every bolt loose.
You need

Installer tip
When we assemble these frames, we use a blanket or lawn to protect the finish. Leave every nut loose so the frames can flex when joined in step 4.
Watch out
Insert all extra bolts now. You cannot add them once the bar ends are closed.
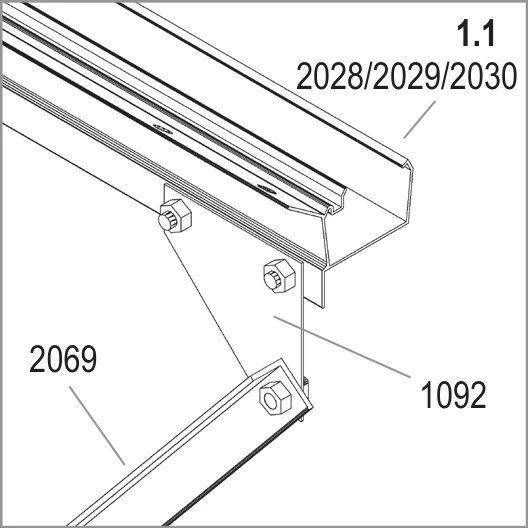
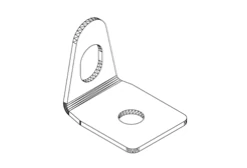
Loosely fit corner plate 1092 where your eave bar (2028, 2029 or 2030) meets diagonal bar 2069. These bolts also connect the gable ends in step 4.

Bolt the bottom of each vertical bar 2072 to your sill bar (1325, 1326 or 2074).

Join the lower end of diagonal bar 2069 and vertical bar 2072 to the sill bar with connector plate 2092.
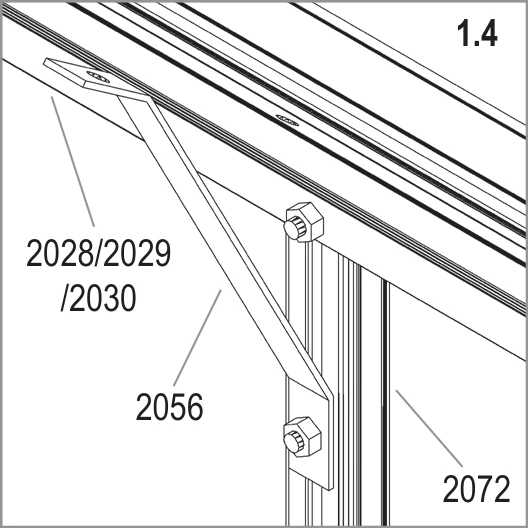
Slide an extra bolt into each vertical bar 2072 for corner brace 2056. This brace runs between your eave bar (2028, 2029 or 2030) and the vertical bar.
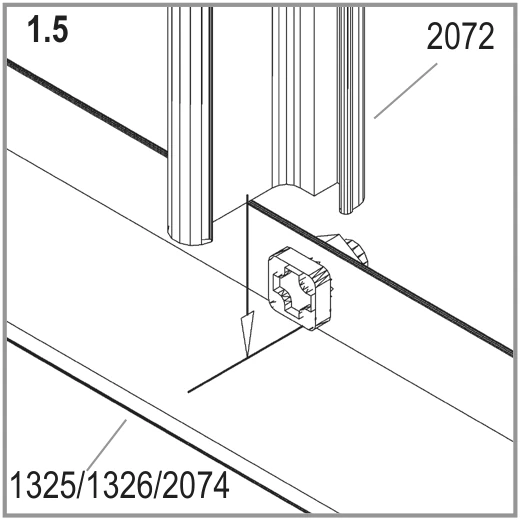
From outside, fit the bolt into the sill bar channel at the foot of vertical bar 2072. Follow the arrow.
Build the back gable
Assemble your back gable flat on the ground and leave every bolt loose.
You need
Installer tip
Build from the bottom upwards. Slide each extra bolt into its channel before you fit the bar above it.
Watch out
Insert the extra bolts now. Without them, you must take the gable apart to fit the cross braces in step 4.
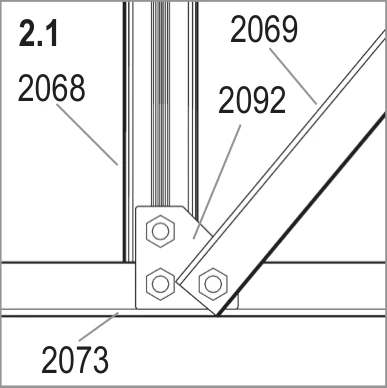
Join each diagonal bar 2069 and its vertical bar (2067 or 2068) to sill bar 2073 with connector plate 2092.
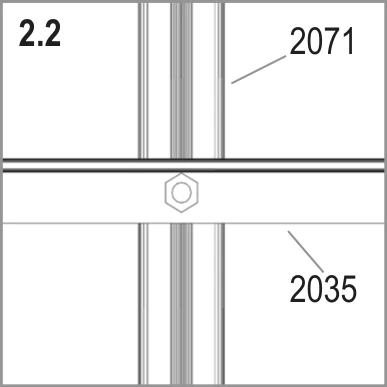
Bolt cross brace 2035 across vertical bar 2071. Insert one extra bolt into each vertical bar 2067, 2068 and 2071 for the cross braces.
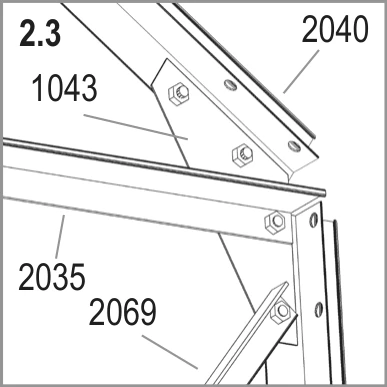
At each top corner, join your roof bar (2039 or 2040), cross brace 2035 and diagonal bar 2069 with corner plate 1043.
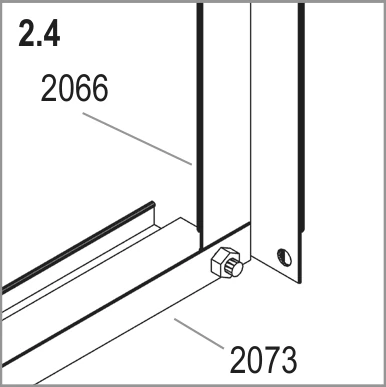
Bolt corner bar 2066 to sill bar 2073 at each bottom corner.
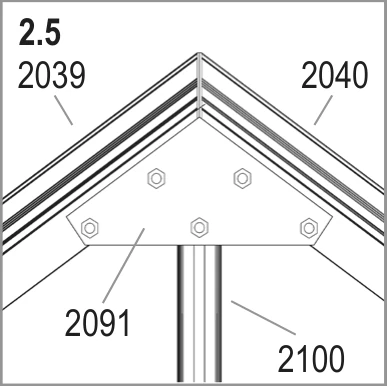
Join roof bars 2039 and 2040 to the top of upright 2100 with apex plate 2091.
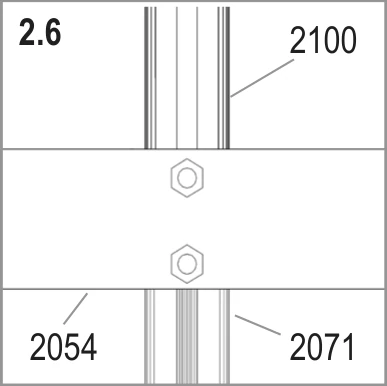
Join upright 2100 and vertical bar 2071 to horizontal bar 2054 with two bolts.

From outside, join horizontal bar 2054 and vertical bar 2067 to roof bar 2039 as shown.

Check the same joint from inside. Join horizontal bar 2054 and vertical bar 2067 under roof bar 2039 as shown.
Build the door gable
Assemble your front gable flat on the ground, with every bolt loose.
You need
Installer tip
Your Cassandra has a double sliding door. Each door runner bar 1347 carries one door.
Watch out
If parts will not line up, check for bars fitted upside down or back to front. Do not force them.
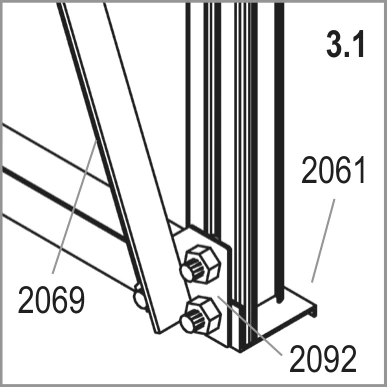
Join diagonal bar 2069 and the vertical bar to base bar 2061 with connector plate 2092. Use base bar 2060 on the other side.
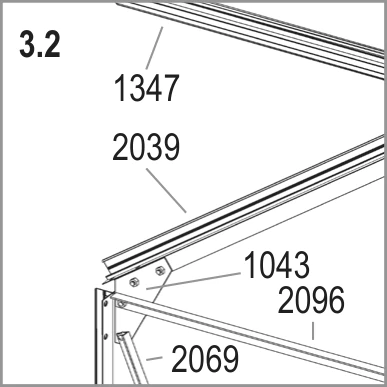
Join roof bar 2039, bar 2096 and diagonal bar 2069 with corner plate 1043, with door runner bar 1347 above. Use roof bar 2040 on the other side.
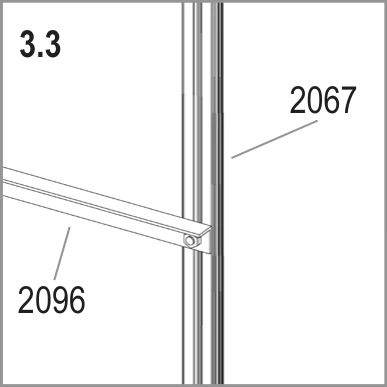
Bolt bar 2096 to vertical bar 2067. Insert one extra bolt into each vertical bar 2067 and 2068, as you did on the back gable.
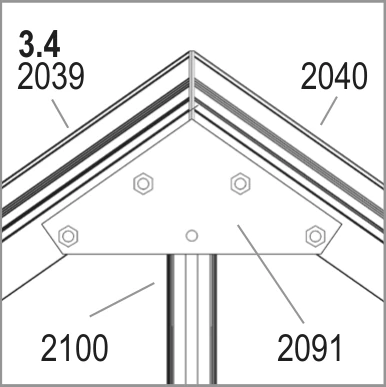
Join roof bars 2039 and 2040 to the top of upright 2100 with apex plate 2091.

Position door runner bar 1347 along horizontal bar 2048, below upright 2100.
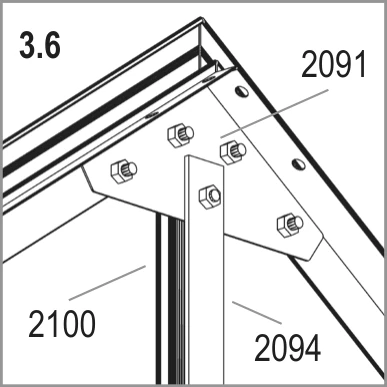
Join upright 2100 and bar 2094 with apex plate 2091 as shown.
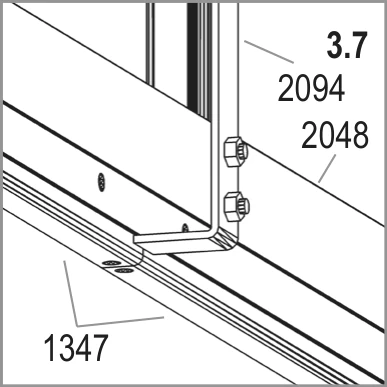
Bolt bar 2094 to horizontal bar 2048, with door runner bar 1347 below.

Join horizontal bar 2048 and door runner bar 1347 as shown.
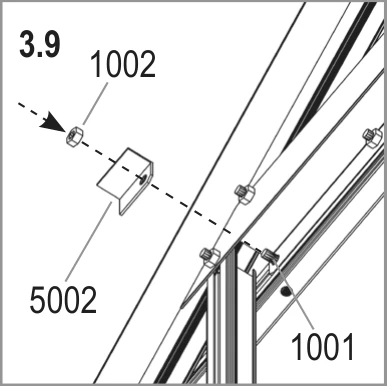
Connect part 5002 with bolt 1001 and nut 1002 as shown.

Join part 5002 to door runner bar 1347 at vertical bar 2067 and horizontal bar 2048. Connect parts 5001 and 5002 with a nut.
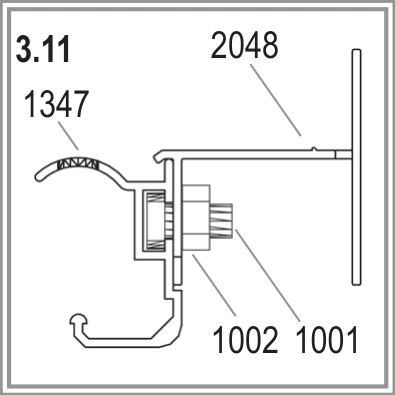
From outside, loosely connect each door runner bar 1347 to horizontal bar 2048 with three bolts and two nuts.
Join and position the frame
Work with a second person to join your frames and lift the greenhouse onto the wall.
You need
Installer tip
Count the circled extra bolts on every roof bar before you fit any end protector. The quantity depends on your greenhouse size.
Watch out
Keep all bolts loose until your greenhouse is on the wall and square. You cannot adjust the frame once the glass is fitted.

Bolt the side frames to the gable ends at the top corners. Fit door runner support 2043 to door runner bar 1347 with washer 6060.
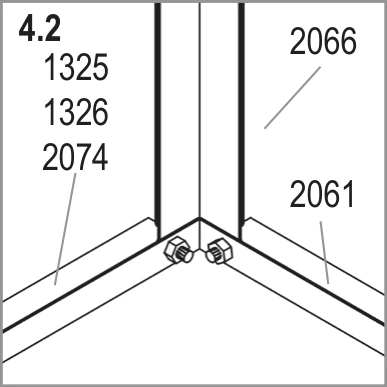
Bolt the side frames to the gable ends at the bottom corners. Join your sill bar (1325, 1326 or 2074), corner bar 2066 and base bar 2061 as shown.
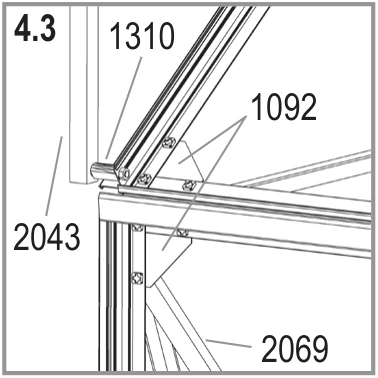
From outside, loosely connect corner plates 1092 above the eaves. Position door runner support 2043 at this corner with spacer 1310.
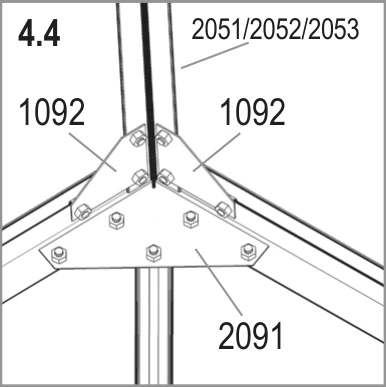
Fit your ridge bar (2051, 2052 or 2053). Fix corner plates 1092 to the gable ends at the peak beside apex plate 2091.

From outside, position corner plate 1092 under the ridge bar at the gable end as shown.

From outside, fix door runner support 2043 to the gable end with bolt 4201 and spacer 1310.


Lift the frame onto your prepared wall and fix it loosely with clips 9104. Supply your own screws and wall plugs.
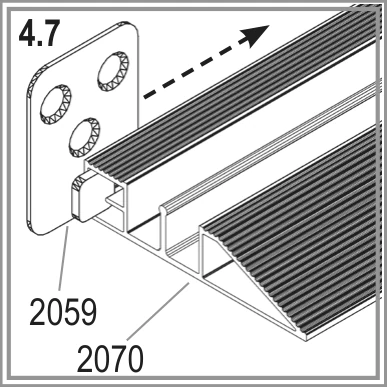
Slide the 4 holders 2059 into door guide 2070 as the arrow shows. Loosely fix the guide to the wall front with countersunk screws, which are not supplied.

From outside, fit holder 2059 on door guide 2070 as shown.

Bolt the lower end of each roof glazing bar 2055 at the eaves. Connect corner brace 2056 and cross brace 2033 here as shown.

Bolt each roof glazing bar 2055 to the ridge bar. Insert extra bolts as you go, using each bar's circled quantities in the drawing, read from both ends.
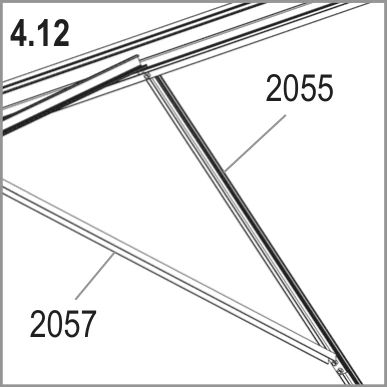
Connect roof braces 2057 to roof glazing bars 2055.

Connect cross braces 2033 at the gable peak as shown.
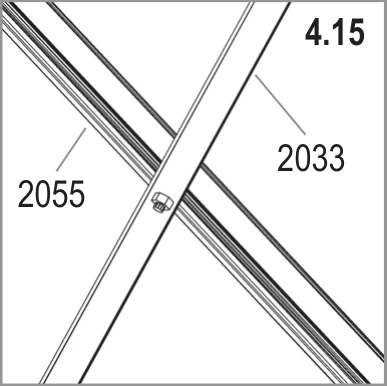
Bolt cross brace 2033 where it crosses roof glazing bar 2055.

From outside, connect cross brace 2033 to roof glazing bar 2055 as shown.
Adjust your greenhouse until it is completely square. Only then tighten all bolts to a maximum of 3 Nm; do not overtighten.

Press end protectors 1017 and 1018 onto the open profile ends.
Fit the left-hand door
Build and hang your left-hand sliding door first.
You need
Installer tip
If your door binds or jumps the track, the frame is almost certainly not square. Recheck it before you force the door.
Watch out
Never stand an assembled door on gliders 1014; this damages them. Use inside side bar 2098 for the left-hand door and 2099 for the right-hand door.

Push a door glider 1014 onto each end of door bar 1360. Screw door bar 2058 to it with screws 1003.

Screw middle bars 1361 to door bar 2058 with screws 1003.
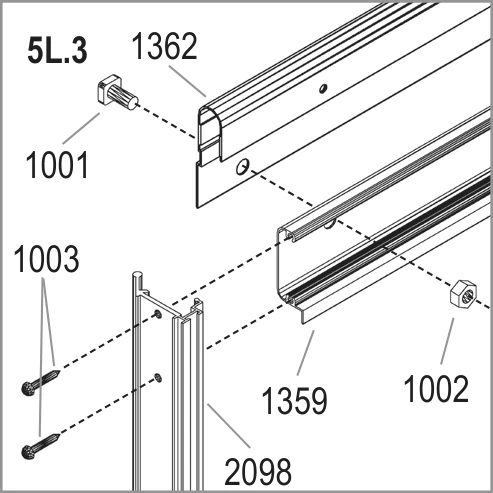
Bolt door bar 1362 to upper bar 1359 with bolt 1001 and nut 1002. Screw inside side bar 2098 onto your left-hand door with screws 1003.
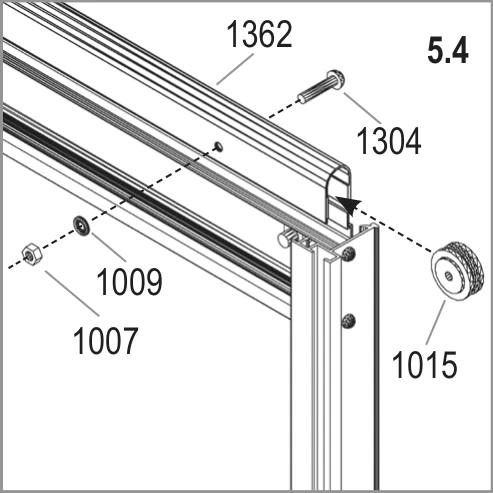
Fix the two door rollers 1015 to door bar 1362 with bolt 1304, washer 1009 and nut 1007.

From outside, slide door seal 2021 into door bar 2058. Cut the seal to length.

Slide bolt 1500 into the bottom of the channel that holds door seal 2021. Fix it with nut 1515 to stop the seal sliding out.
Fit parts 2005 and 2006 to inside side bar 2098 as shown on the main door drawing.
Loosen door runner supports 2043 before you hang the door.
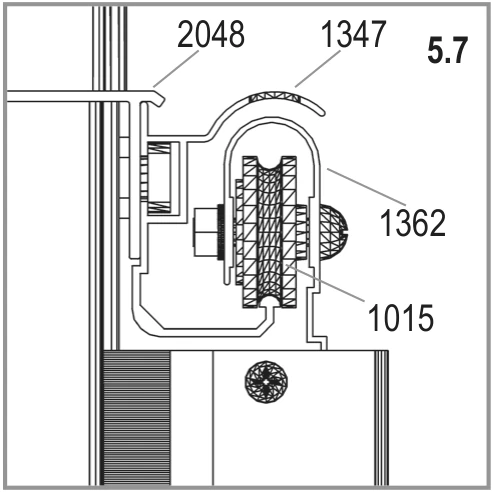
From outside, lift the door and slide door rollers 1015 into door runner bar 1347.
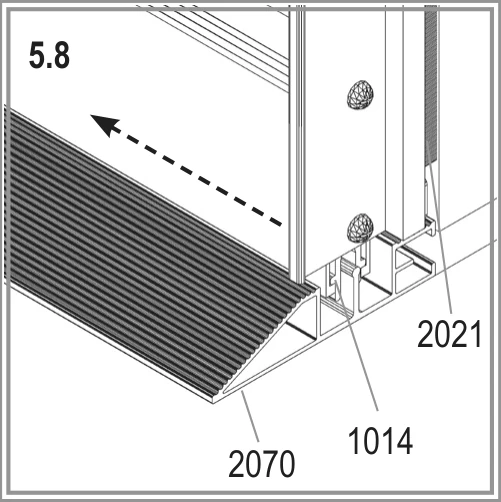
From outside, check that door gliders 1014 also run on the bottom track, door guide 2070.
Fit the right-hand door
Build and hang your second sliding door, then adjust both doors together.
You need
Installer tip
Hang your right-hand door the same way as the left-hand door. Then adjust both together until they slide freely.
Watch out
Never stand an assembled door on gliders 1014; this damages them.
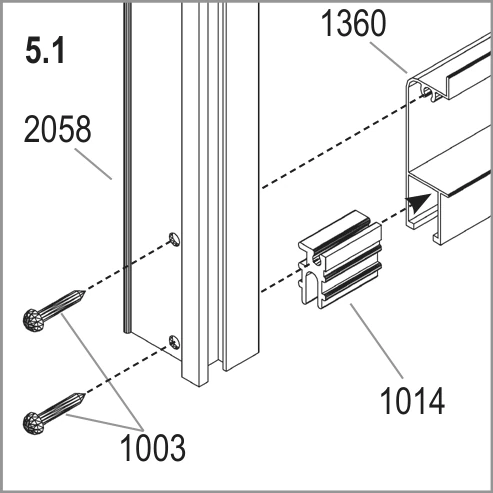
Push a door glider 1014 onto each end of door bar 1360. Screw door bar 2058 to it with screws 1003.

Screw middle bars 1361 to door bar 2058 with screws 1003.

Bolt door bar 1362 to upper bar 1359 with bolt 1001 and nut 1002. Screw inside side bar 2099 onto your right-hand door with screws 1003.
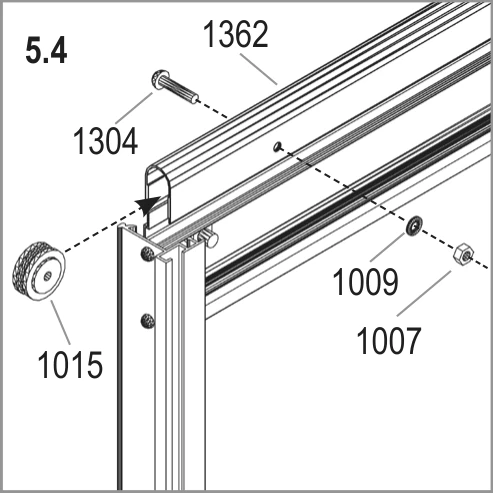
Fix the two door rollers 1015 to door bar 1362 with bolt 1304, washer 1009 and nut 1007.
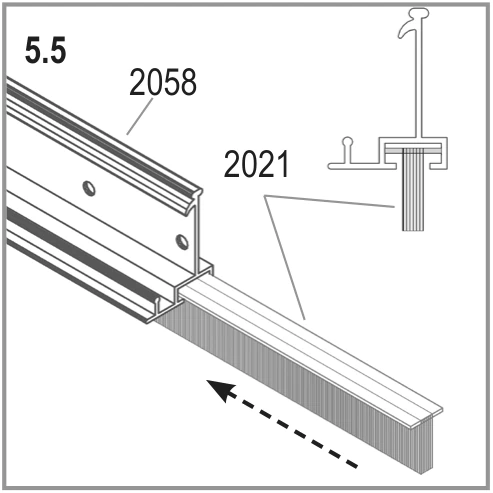
From outside, slide door seal 2021 into door bar 2058. Cut the seal to length.

Slide bolt 1500 into the bottom of the channel that holds door seal 2021. Fix it with nut 1515 to stop the seal sliding out.
Join the two door runner bars 1347 with bolt 2001 and nut 1002. Follow the circle on the main door drawing.
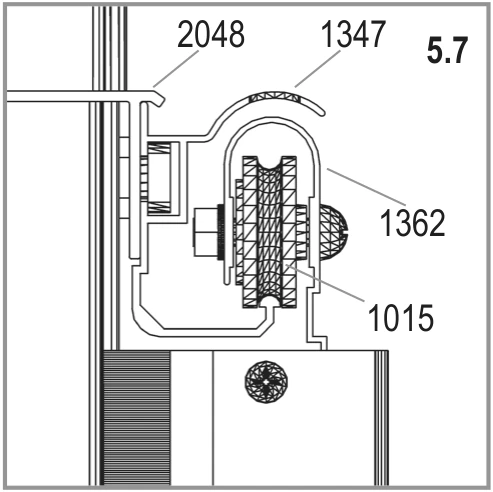
From outside, lift the door and slide door rollers 1015 into door runner bar 1347.

From outside, check that door gliders 1014 also run on the bottom track, door guide 2070.
Adjust both doors until they slide freely.
Build and fit roof vents
Build four roof vents, each with one 4 mm pane K, 600 x 544 mm.
You need
Installer tip
Fit the slam bar, window sill 1063, flat edge up, with its grooved lip down towards the pane below. Recheck its position if that pane will not sit snugly.

For glass up to 4 mm thick, join vent side bars 1065 and top bar 1064 as shown.

For glass 4 mm or thicker, join vent side bars 1065 and top bar 1064 as shown here instead.
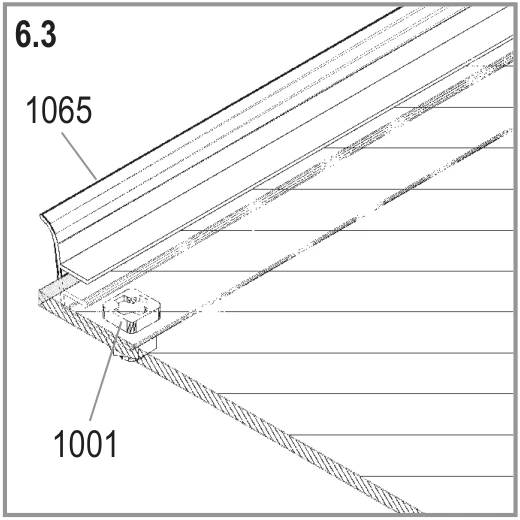
Insert the bottom bar 1066 bolts into the prepared holes, then slide the glass into side bar 1065 tracks. Fit bottom bar 1066; check the vent is completely square before you tighten.

From outside, hook the vent into the ridge bar from one end of your greenhouse.

Hook vent top bar 1064 over your ridge bar (2051, 2052 or 2053) as shown from outside.

Slide the vent along to your chosen position. Push plastic cap 1019 onto the end of window opener 1067.

Fix window sill 1063 to the extra bolts in the roof bars. Screw both window fixers 2016 onto window sill 1063 with screws 1006.
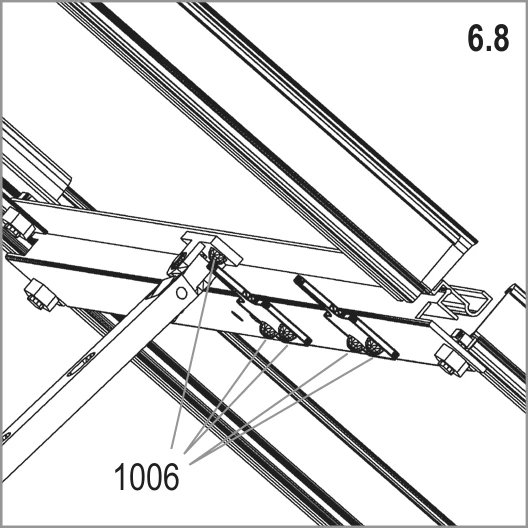
Screw window opener 1067 to vent bottom bar 1066 with screws 1006.
Fit the glass
Start with your roof, then glaze the sides and doors with glazing lists.
You need
Installer tip
When we fit glazing seal, we first soak the whole reel in hot soapy water. This softens it and makes it easier to press on.
Watch out
Never force a pane into place; this cracks glass. If it will not seat, correct the frame's squareness first.
Cut 4 glazing lists 6602 (1509 mm) into 8 pieces 6602-1, each about 748 mm. Cut 4 lists 6606 (588 mm) to make 4 pieces 6606-1, each 540 mm.

Press glazing seal 1020 onto aluminium profiles; trim. Start on roof. Push glazing lists beside each pane; cut each list to its pane's length.
Glaze the sides and doors in the same way, with each glazing list cut to match its pane. Follow the glazing plan for each pane and glazing list.
Toughened glass for your greenhouse
| Pane | Size (mm) | 8300 | 9900 | 11500 |
|---|---|---|---|---|
| D1 | 610 x 610 | 4 | 4 | 4 |
| D2 | 610 x 540 | 2 | 2 | 2 |
| R1 | 612 x 1522 | 6 | 8 | 10 |
| R6 | 612 x 982 | 4 | 4 | 4 |
| R7 | 600 x 544 | 4 | 4 | 4 |
| S5 | 612 x 430/3 | 4 | 4 | 4 |
| S6 | 612 x 1018 | 10 | 12 | 14 |
| S7 | 612 x 1471/1042 | 4 | 4 | 4 |
| S8 | 612 x 1470 | 2 | 2 | 2 |
| Total | 40 | 44 | 48 |
Pane numbers match the glazing layout in the drawing above.
Finish and look after it
Finish
- Always anchor your greenhouse.
- Seal the edges with neutral silicone if you wish. Silicone is not supplied.
- Stick the warning label inside your greenhouse.
- Stick the model label onto door bar 1362. You will need it to order spare parts.
- Keep this guide somewhere safe.
Looking after it
- Shut all doors and vents in high winds.
- Clear the roof or support it in heavy snow. Heat your greenhouse in winter.
- Wash your greenhouse occasionally with a mild detergent that does not attack aluminium or the glass fixing clips.
- Keep the upper and lower door tracks clean to prevent grit build-up.
- Add your greenhouse to your home insurance. Check local building rules about where you can put it.
Drawings reproduced from the Vitavia assembly instructions (Vitavia manual 063.01.1905 (Cassandra, VM0038-C)). Greenhouse Stores, greenhousestores.co.uk.